Heads up! This content is relevant for Clipchamp for personal accounts. Try this link If you're looking for information about Clipchamp for work accounts.
On this page
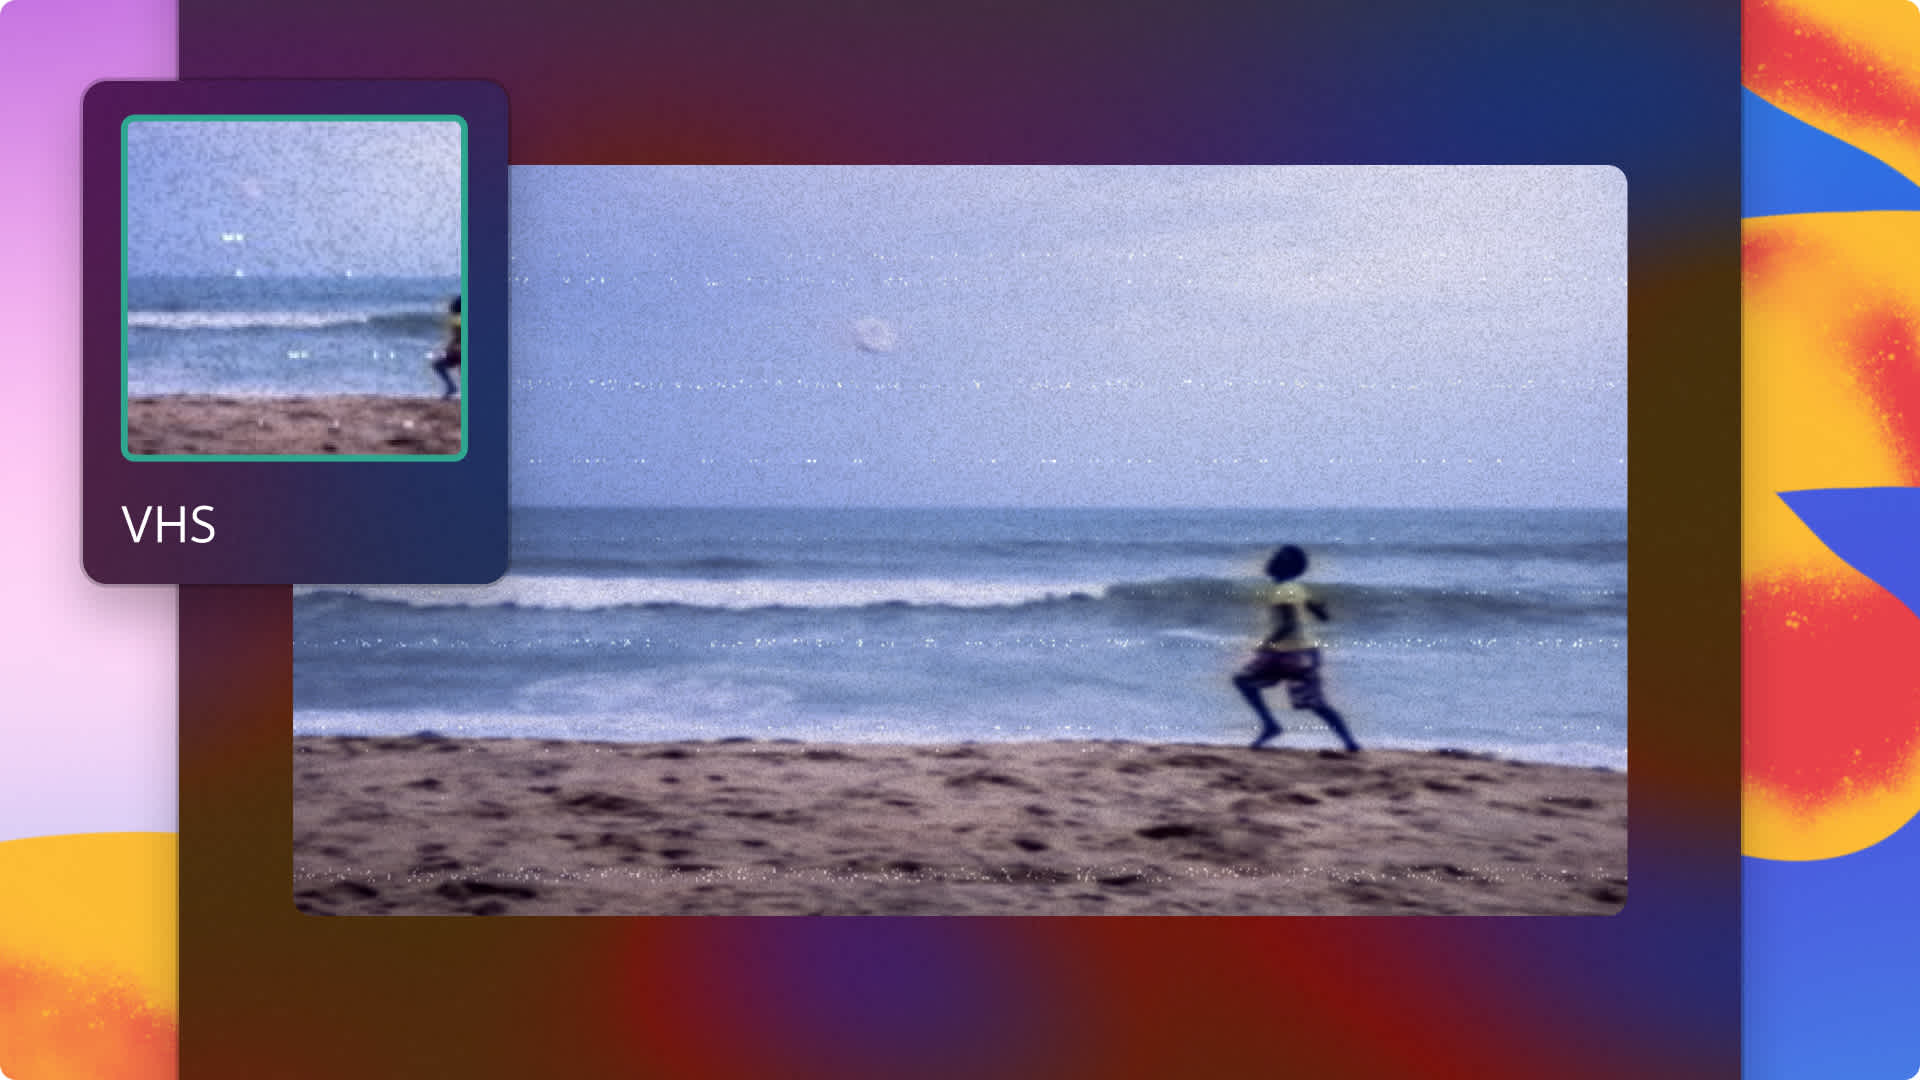
Give your video clips a vintage look and feel with the VHS effect. This video effect can intensify nostalgia for any content—from holiday recap videos and vlogs to sale ad videos and throwback slideshows.
Clipchamp lets you easily add the free VHS effect to your videos with no downloads needed. Add the grainy, static, and bleeding color lines aesthetic to your videos without leaving your browser. You can even add vintage overlays and on-theme video transitions between clips to add to the nostalgia.
Read on to learn how to add and customize the VHS effect to videos, animated text, graphics, and how to pair your video with the perfect old school background music with Clipchamp.
How to add VHS effect to videos
Step 1. Import your own media or add stock videos
If you would like to use your own media files, click on the import media button within the your media tab on the toolbar. Browse your computer files, or connect your OneDrive to import.
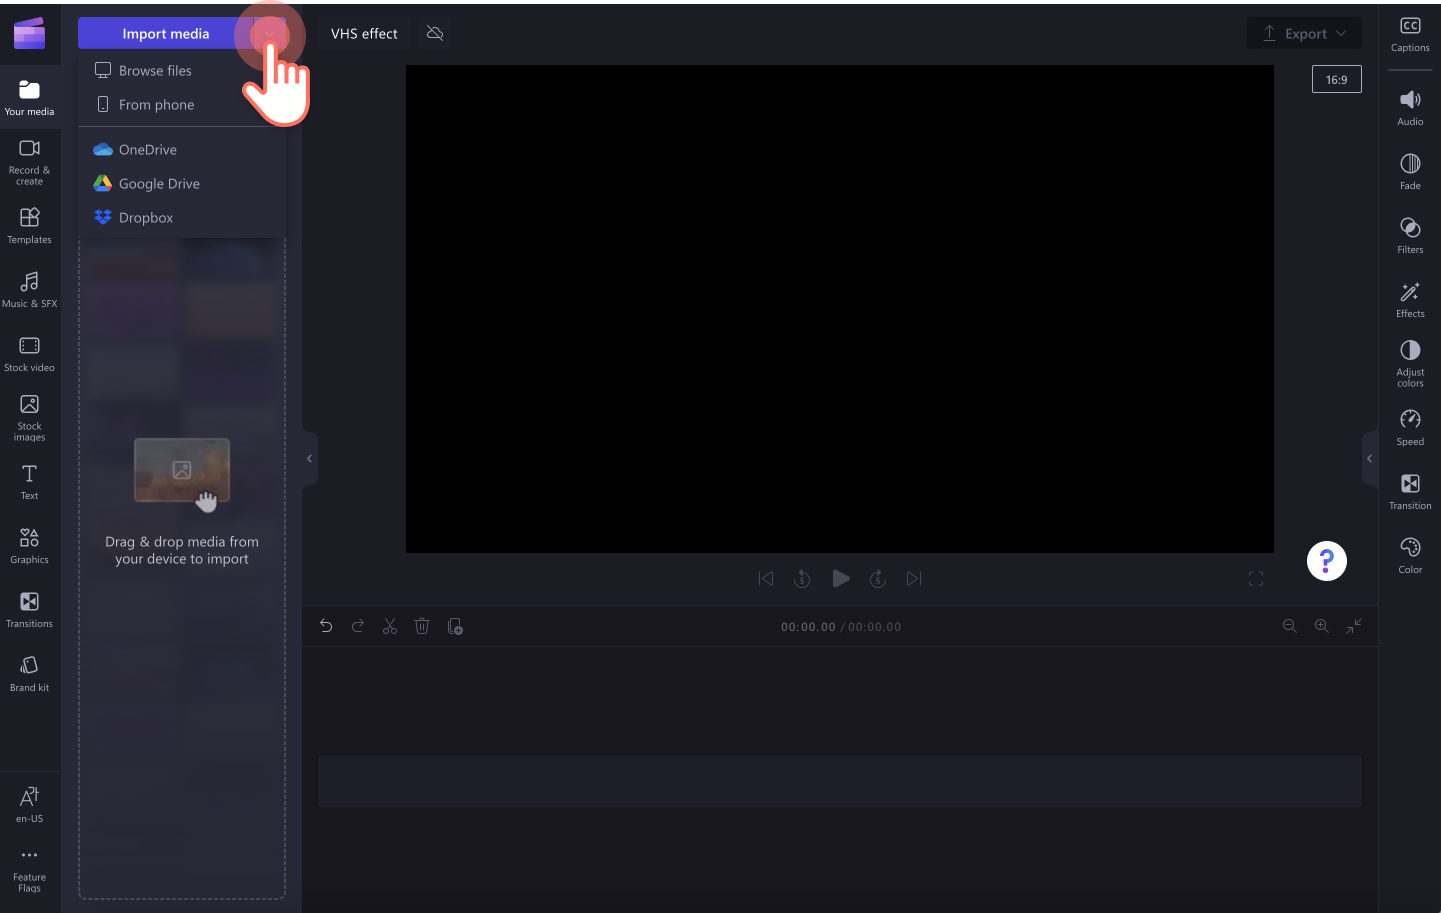
If you would like to create a video using stock footage, click on the stock video tab on the toolbar. Browse the royalty-free video library to select the right stock for your VHS video. Use the search bar to look for stock based on keywords or click on the see more button within a video category.

Drag and drop your videos onto the timeline to start editing with the VHS effects.

Step 2. Add the VHS effect to your video
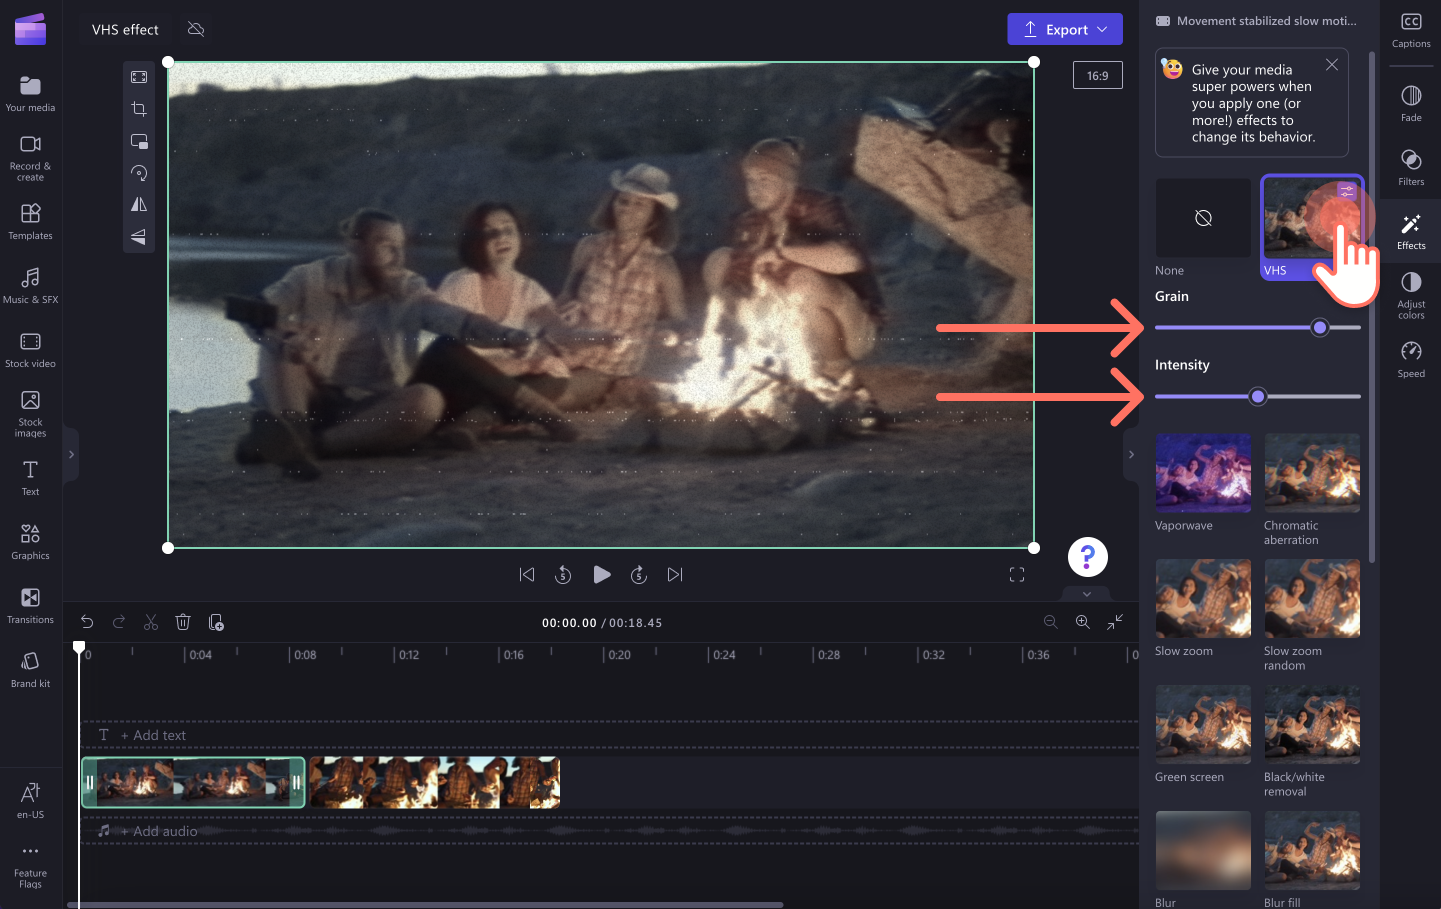
Click on the video on your timeline that you would like to add the VHS filter to. The video should be highlighted in green. Next, click on the effects tab on the property panel. The VHS effect can be applied as a filter to videos, stock images, stickers, graphics, and GIFs.

To apply the VHS style to your video, click on the VHS effect. Your video will now have an old school feel with the VHS effect. You can edit the grain and intensity of the VHS effect using the grain slider and intensity slider. Drag the slider to the right for more intensity or to the left for less intensity.
Step 3. Preview your video and save
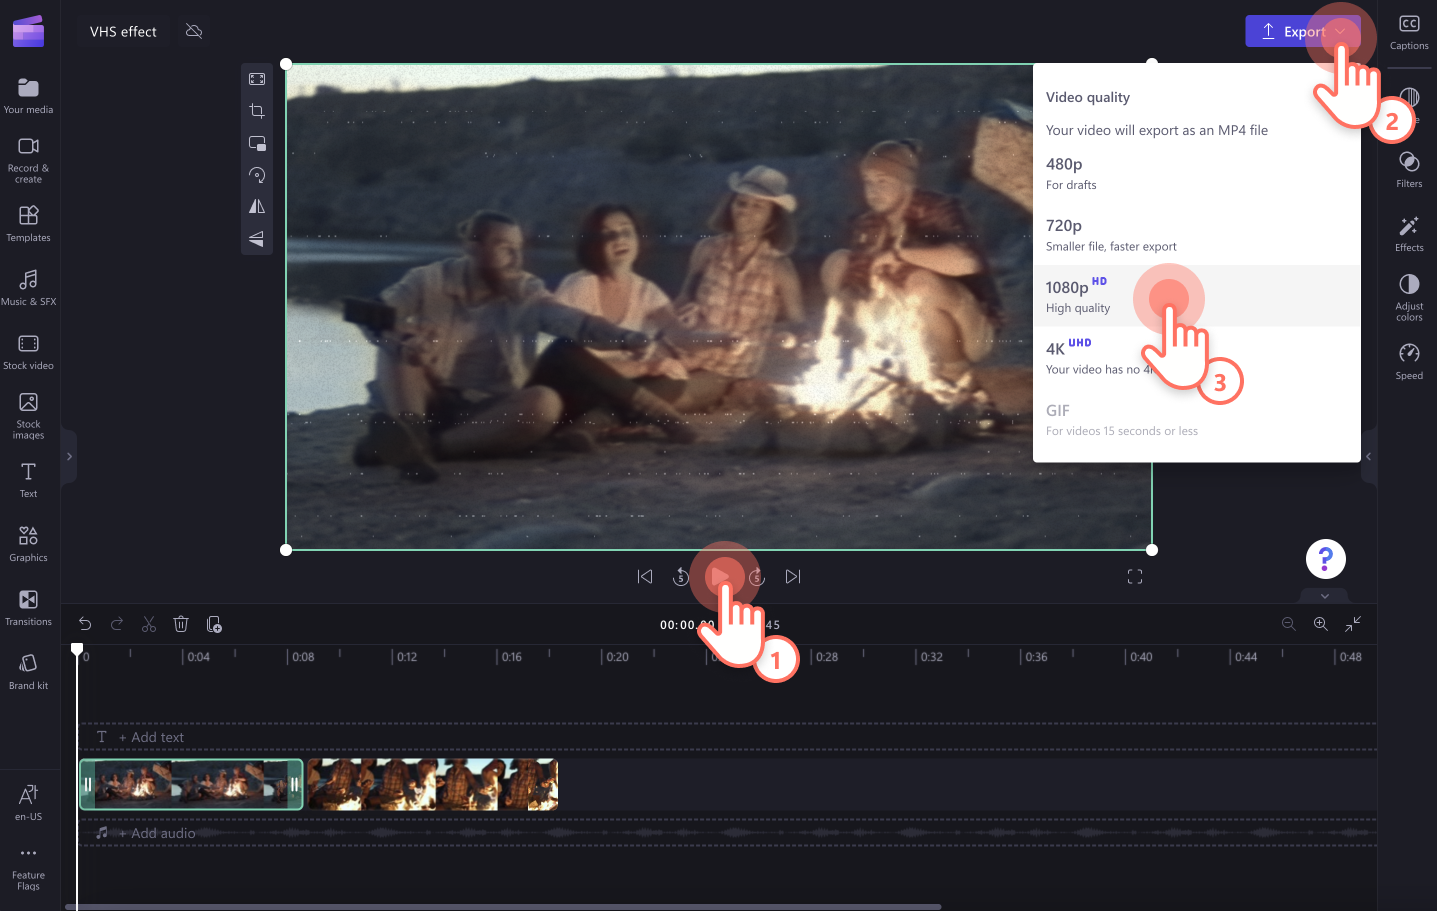
Make sure to preview your video before saving by clicking on the play button. When you’re ready to save your video, click on the export button and select a video resolution. We recommend saving videos in 1080p video resolution for the best video quality. If your video includes 4K video footage, paid subscribers can save in 4k video resolution.
Learn more about adding filters with how to add filters to a video.
How to add VHS effect to animated text and graphics
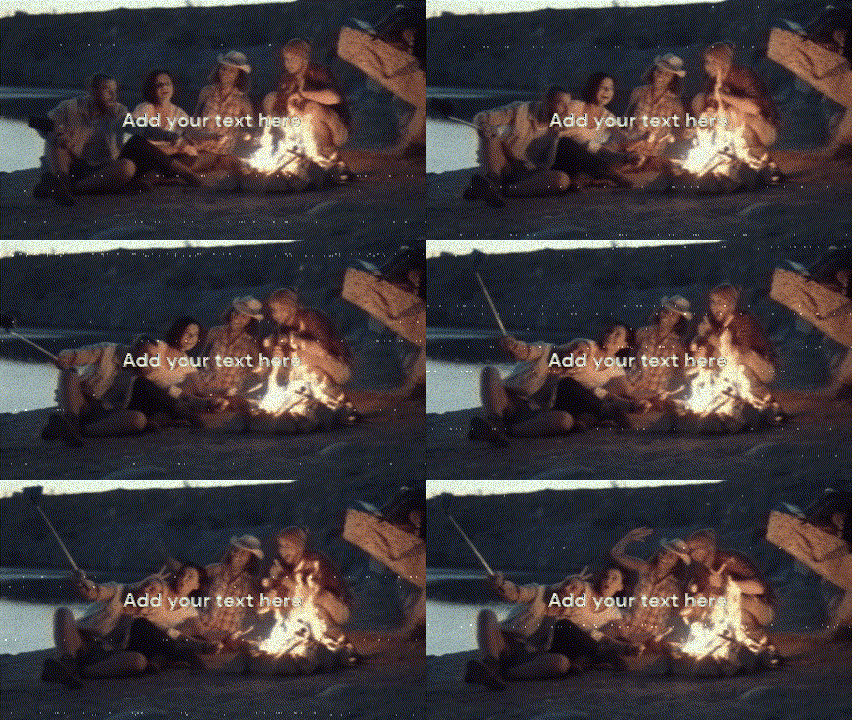
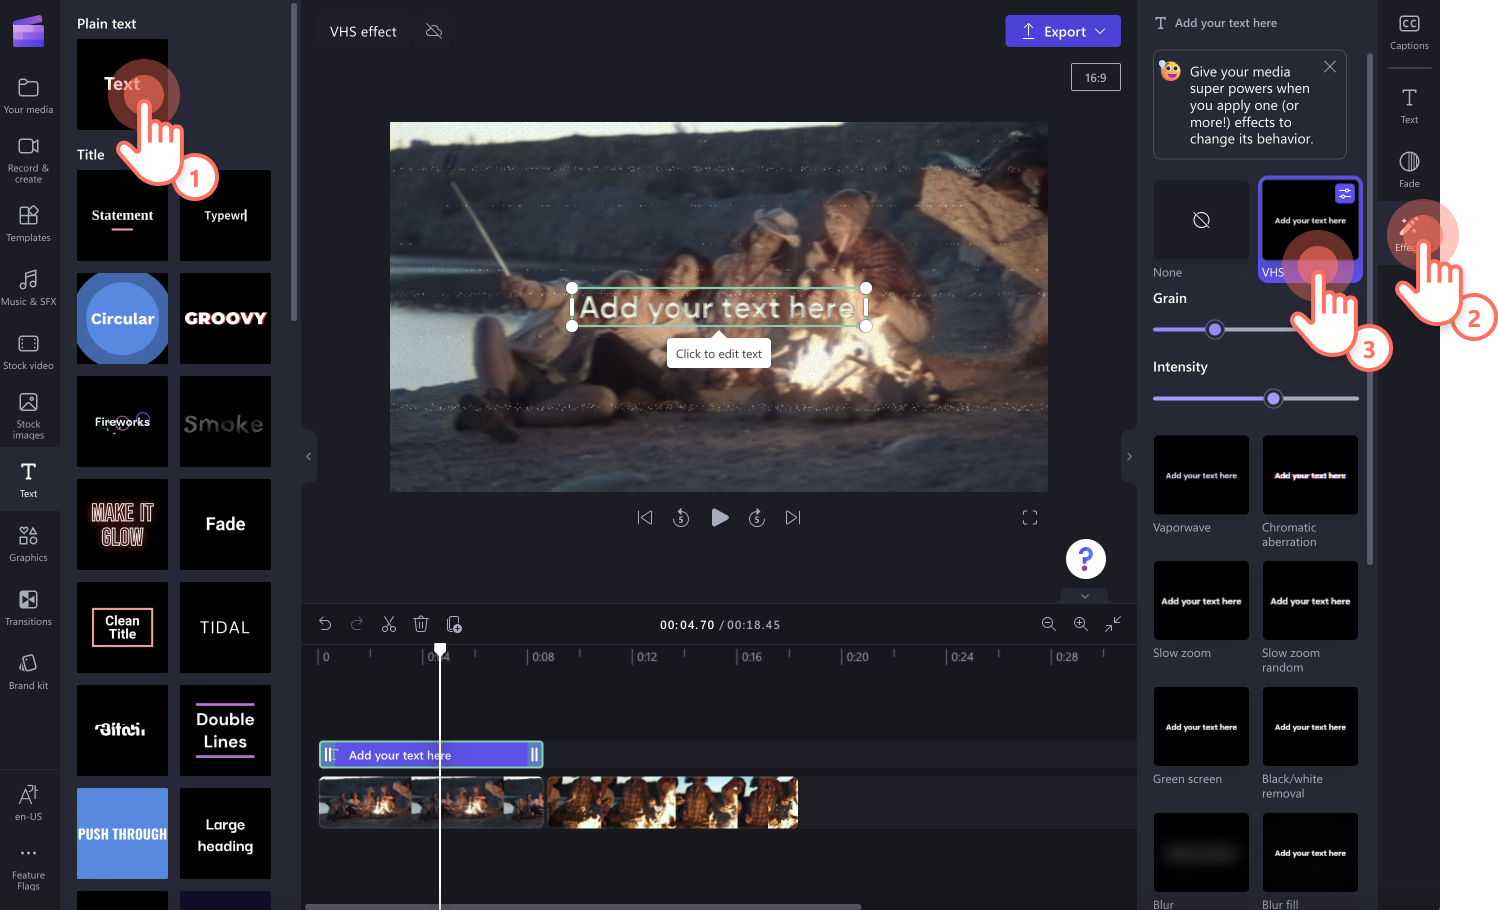
You can add the VHS effect as a filter to animated text and titles, and graphics as well. To add the VHS effect onto a title, drag and drop a title onto the timeline, then click on the effects tab on the property panel. Click on the VHS effect to apply.
How to choose the right background music for your VHS video
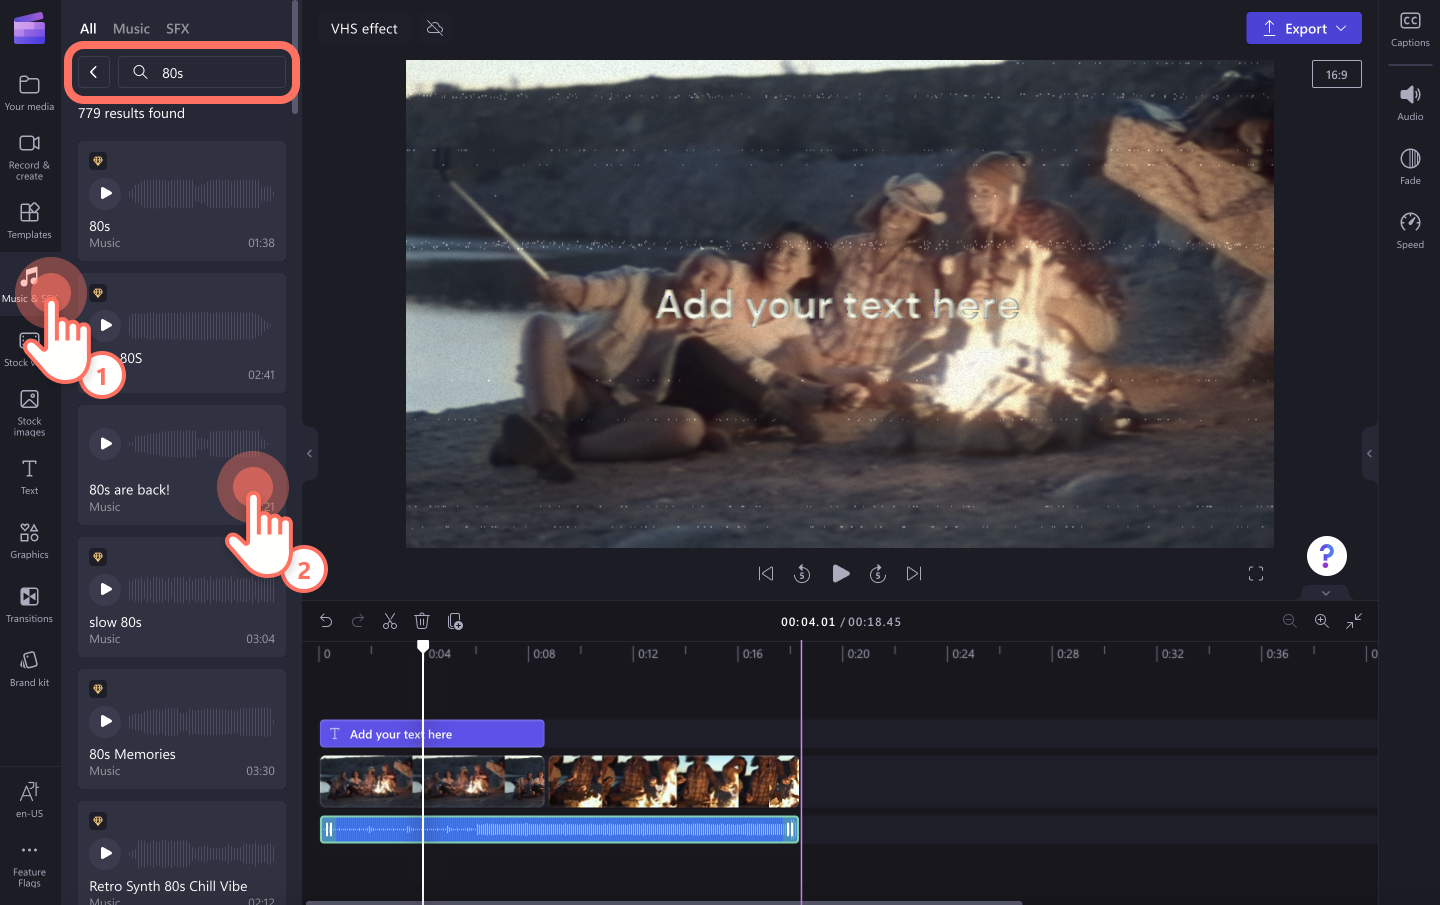
Finding the right background music and sound effects for your video is just as important as choosing the perfect stock footage. Click on the music & SFX tab on the toolbar to open the royalty-free music library. Search keywords like 80s, 90s, retro, vintage, old school rock, and more into the search bar to choose the perfect background tune. Click on the + button to add the audio onto the timeline.
Popular video ideas using the VHS effects
If you’re not sure what to use the VHS effect for, look at some of these popular video ideas.
Achieve a vintage aesthetic in your travel vlogs.
Use the effect to make music videos look retro.
Create a moody and mysterious look to your Y2K TikTok videos.
Don’t forget to sync your VHS effect with sound effects and background music for social media. Explore the Clipchamp audio library here.
Create a vintage aesthetic on your video today for free with Clipchamp. Want to add more unique effects to your videos? Check out how to add glitch effect to video.
